Get Started with Meadow Core-Compute Module
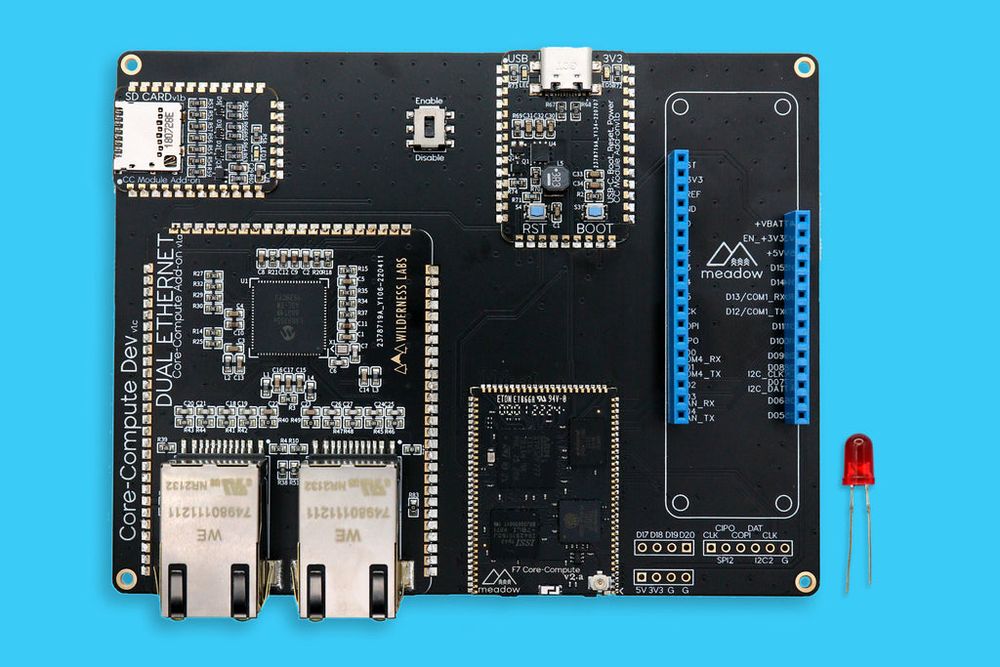
Getting started with the Meadow Core-Compute module is similar to getting started with a Meadow Feather board, especially if you are working with the Core-Compute Development Kit which offers breakout headers that mimic the Feather headers.

If you are working with a bare Meadow Core-Compute module without the development kit, you will likely want to connect the castellated pins to peripherals to be able to move beyond logging or code-only projects. For production builds, the Core-Compute board on its own doesn't include an onboard LED to interact with.
- Install Visual Studio - Download and Install Visual Studio 2022 for either Windows or macOS to prepare your development machine. Community edition will work fine.
- Deploy Meadow.OS - Use the Meadow.CLI to deploy Meadow.OS to your board, booting the Core-Compute module into bootloader mode when you first connect it to your development machine.
- Deploy Hello, World - Verify everything is setup by deploying your first Meadow application. You can start working from the Feather Hello, Meadow application, but you will need to connect external components or peripherals to recreate the experience of the onboard RGB LED. You can still see logging output without any additional components.
using Meadow;
using Meadow.Devices;
using Meadow.Foundation.Leds;
using System;
using System.Threading.Tasks;

namespace HelloMeadow
{
    // Change F7FeatherV2 or F7FeatherV1 for Feather boards
    public class MeadowApp : App<F7CoreComputeV2>
    {
        public override Task Run()
        {
            Console.WriteLine("Run...");

            return base.Run();
        }

        public async override Task Initialize()
        {
            Console.WriteLine("Initialize...");

            await base.Initialize();
        }
    }
}
You should see the console output generated from the Meadow showing up in the Meadow output pane within Visual Studio.
For an example with some visual flare, you could connect an LED's anode leg to the Meadow ground (GND) pin and its cathode leg to pin D14. Then, within your app's Run method, you can start blinking it using the Led class in [Meadow.Foundation](..\Meadow.Foundation\Getting_Started).
using Meadow;
using Meadow.Devices;
using Meadow.Foundation.Leds;
using System;
using System.Threading.Tasks;

namespace HelloMeadow
{
    // Change F7FeatherV2 or F7FeatherV1 for Feather boards
    public class MeadowApp : App<F7CoreComputeV2>
    {
        Led led;

        public override Task Run()
        {
            Console.WriteLine("Run...");

            led.StartBlink(TimeSpan.FromSeconds(1), TimeSpan.FromSeconds(0.5));

            return base.Run();
        }

        public async override Task Initialize()
        {
            Console.WriteLine("Initialize...");

            led = new Led(Device.CreateDigitalOutputPort(Device.Pins.D14));

            await base.Initialize();
        }
    }
}
Core-Compute pin details
When using the Core-Compute module within the Core-Compute Development Kit, some pins available via the Feather pin breakout headers have extra considerations.
- Pin D15 reserved: Digital pin 15 on the Core-Compute module is reserved for SD card use.
- Pin D16 available via D15 Feather header: Since pin D15 is reserved for SD card use, on the Core-Compute Development Kit, pin D16 from the Core-Compute module is made available through the Feather breakout header at the D15 pin location. The pin available at that location is accessible from the
Device.Pins.D16property, despite the label for Feather pinout consistency.
Next steps
Now that you understand the basics of a Meadow application, we recommend learning about the following topics:
With the Core-Compute Development Kit, you can also explore the additional onboard peripherals, depending on your kit's configuration:
- SD Card storage
- Networking, accessible either via the Core-Compute Dual Ethernet add-on or wireless
And to learn more about the development kit board design and fabrication, or look over the board schematics, check out the Meadow.Core-Compute.DevBreakouts repo.